
Moving a rose bush to a new location can feel a little intimidating. After all, roses don’t exactly look like plants that enjoy being dug up and moved around.
This post may contain affiliate links.
But if you choose the right time and take care of the roots during the move, transplanting a rose can be surprisingly successful.
Fall is one of my favorite times to move an established rose, especially after the heat of summer has passed and the plant is beginning to slow down for winter. Early spring, while the rose is still dormant, is another good option.
The key is to give the roots a chance to settle in before the plant has to deal with the demands of active growth, summer heat, or a full flush of flowers.
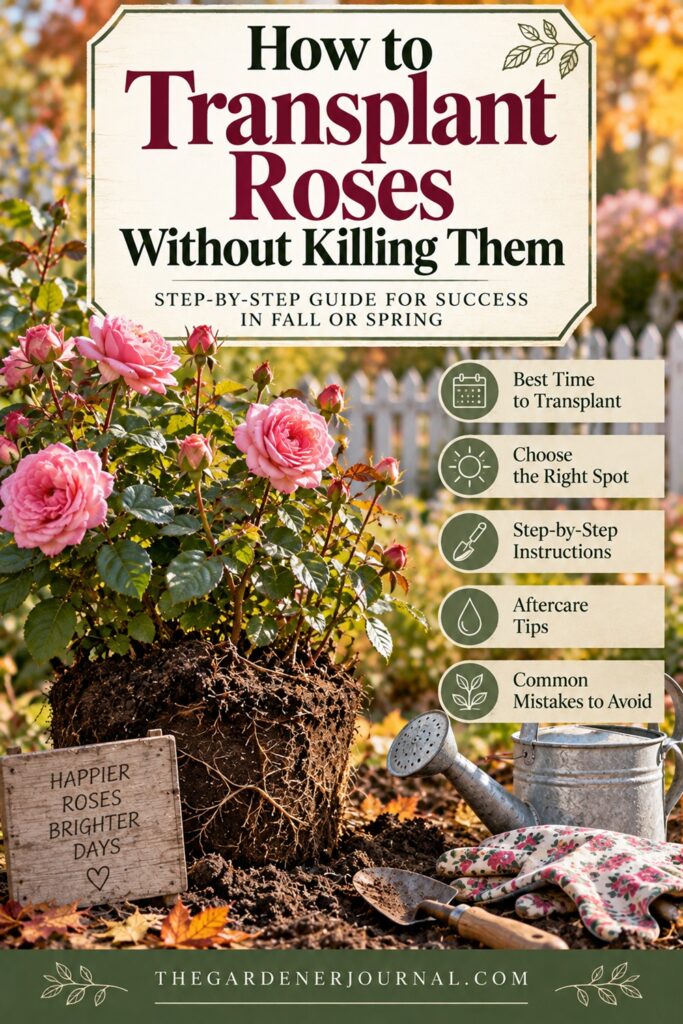
Here’s how to move a rose without putting unnecessary stress on the plant.

When Is the Best Time to Transplant Roses?
The best time to transplant a rose is when it is dormant or just entering dormancy.
For many gardeners, that means late fall or early spring.
Transplanting roses in fall
Fall is an especially good time in areas where the ground stays workable well into the season.
Once the summer heat has passed and the rose has finished its major flush of growth, cooler temperatures give the roots time to begin establishing before spring arrives.
Try to transplant several weeks before the ground typically freezes in your area.
Don’t wait until the soil is frozen or you’re dealing with extremely cold weather.
Transplanting roses in spring
Early spring is another good option. Move the rose while it is still dormant or just beginning to wake up, before it has put on a lot of new growth.
The earlier you can get it settled in, the less stressful the move will be.
When not to transplant a rose
I wouldn’t dig up an established rose in the middle of summer unless you absolutely have to.
Moving a rose while it’s actively growing, flowering, and dealing with hot weather puts considerably more stress on the plant.
If you have the choice, wait.
Choose the New Location First
Have the new planting spot completely ready before you dig up the rose.
You don’t want a rose sitting with exposed roots while you’re deciding where it’s going to go.
Roses generally do best with:
- At least 6 hours of sunlight
- Good air circulation
- Well-draining soil
- Consistent moisture
- Soil with plenty of organic matter
Avoid a location where water sits after rain. Roses don’t like having their roots constantly wet.
It’s also a good idea to avoid planting the rose directly where another rose has recently grown. If possible, choose a fresh location with healthy soil.
Water the Rose Before You Dig
Give the rose a good, deep watering the day before you plan to move it.
Moist soil is easier to dig, and watering ahead of time helps make sure the plant isn’t already stressed from dry conditions.
You want the root ball to stay as intact as possible when you lift the plant.
Prune the Rose Before Moving It
This is one area where a little restraint is helpful.
You don’t need to give the rose a hard pruning before transplanting it.
However, if the canes are extremely long, tangled, or difficult to handle, you can shorten them somewhat to make the plant easier to move.
Remove anything that is:
- Dead
- Broken
- Diseased
- Damaged
If you’re transplanting in fall, don’t be tempted to cut the entire plant way back simply because you’re moving it.
The goal is to make the rose manageable—not to give it a major haircut.
Digging Up an Established Rose
This is the part that requires the most care.
Start by digging a circle around the rose, keeping your shovel far enough away from the base that you aren’t immediately cutting through the main roots.
For a larger established rose, you may need to dig 12 to 18 inches or more from the crown, depending on the size of the plant.
Work your way around the rose, gradually loosening the soil.
Then begin digging underneath the root ball.
Your goal isn’t to get every single root.
Your goal is to preserve as much of the root system as reasonably possible while keeping the root ball together.
If you hit a large root, don’t yank on it. Work around it with your shovel or use clean pruners if it needs to be cut.
Once the rose is loose, gently lift it from the ground.
Don’t lift it by the canes.
If the root ball is large, having a second person help you makes the whole process much easier.
Keep the Roots From Drying Out
Once the rose is out of the ground, don’t leave the roots sitting in the sun or wind.
Wrap the root ball in a damp towel, burlap, or an old sheet while you move it to its new location.
If you’re transplanting a bare-root rose, the same basic rule applies: keep the roots moist until you’re ready to plant.
You don’t want them drying out while you’re working.
Prepare the New Planting Hole
Dig the new hole wider than the root ball but no deeper than necessary.
The roots should have room to spread naturally without being bent or crowded.
Mixing some finished compost into poor soil can help improve the planting area, but don’t fill the entire hole with rich amendments that are dramatically different from the surrounding soil.
The rose needs to eventually grow into the native soil around it.
Plant the Rose at the Right Depth
Place the rose in the hole and gently spread the roots outward.
The graft union—the swollen area where the variety was grafted onto the rootstock—is an important consideration.
In colder climates, gardeners often plant the graft union slightly below soil level for additional winter protection. In warmer climates, it is generally planted at or just above soil level.
If you’re unsure, check the recommendations for roses in your particular growing zone.
Once the rose is positioned correctly, begin filling the hole with the soil you removed.
Gently firm the soil around the roots as you go, but don’t pack it down hard.
Water Your Newly Transplanted Rose
This is one of the most important steps.
Give the rose a slow, deep watering immediately after planting.
You want the soil around the roots thoroughly settled and free of large air pockets.
Then keep an eye on the soil moisture while the rose establishes.
Even if you’re transplanting in fall, don’t assume that cooler weather means the rose doesn’t need water.
If the weather is dry, water deeply when needed.
Add Mulch for Winter Protection
A layer of organic mulch around the base of the rose can help maintain more consistent soil moisture and temperature.
Use about 2 to 3 inches of mulch, keeping it pulled back slightly from the base of the canes.
Don’t pile mulch directly against the crown of the plant.
Fall-transplanted roses can benefit from this extra protection as their roots settle in.
Should You Fertilize a Transplanted Rose?
I wouldn’t rush to fertilize a newly transplanted rose.
The plant is already dealing with the stress of being moved, and encouraging a lot of tender new growth isn’t what you want going into winter.
Instead, focus on:
water + healthy soil + mulch + time.
Once the rose is established and actively growing again in spring, you can return to your normal rose-feeding routine.
What to Expect After Transplanting
Don’t panic if your rose doesn’t look thrilled immediately after being moved.
Some temporary stress is normal.
You may notice:
- Wilting
- Dropped leaves
- Slower growth
- Fewer flowers
- Some yellowing leaves
This doesn’t necessarily mean you’ve killed your rose.
The plant has lost some roots during the move, even if you’ve done everything correctly. It needs time to rebuild that root system.
This is another reason fall transplanting can work so well. The rose has the cooler months to settle in before it has to support a lot of new top growth.
What Not to Do When Transplanting Roses
A few mistakes can make the process much harder on the plant.
Don’t transplant during extreme heat
If you can wait, do.
Don’t let the roots dry out
Keep them covered and moist while you’re working.
Don’t yank the rose out of the ground
Take your time loosening the root ball.
Don’t bury the rose too deeply
Pay attention to the graft union and your local climate.
Don’t fertilize immediately
Let the roots settle before encouraging new growth.
Don’t forget to water
A newly transplanted rose needs consistent moisture while it establishes.
Can You Transplant a Rose in Fall?
Yes. In many areas, fall is an excellent time to transplant roses.
The combination of cooler temperatures and reduced top growth can make the transition easier on the plant.
Just make sure you transplant early enough that the rose has time to settle in before the ground freezes, and give it plenty of water while the roots are establishing.
And if you’re moving a rose because you’re redesigning your garden, fall can be a wonderful time to do it.
It’s also a good time to look around your garden and decide which plants have outgrown their current locations before next spring arrives.
Don’t let the idea of transplanting an established rose scare you.
The biggest things to remember are timing, protecting the roots, preparing the new location first, and keeping the plant watered while it establishes.
If you can move the rose while it’s dormant, preserve a good portion of its root system, and avoid letting those roots dry out, you’ve given it a very good start in its new home.
And honestly, sometimes a rose just needs a better spot.
Maybe it’s been shaded by a tree that has grown over the years. Maybe you’ve redesigned your garden.
Or maybe you finally admitted that the rose you planted three years ago would look so much better somewhere else.
That’s what gardens are for. They change with us.
More Rose Gardening
If you’re growing roses in your cottage garden, you might also enjoy:
- When to Plant Roses
- 10 Tips for Growing Beautiful Roses
- How to Deadhead Roses Without Damaging Your Plant
- Best Companion Plants for Roses
Follow my gardening board on Pinterest.